
Configuring VSCode – ToDo Tree

What is ToDo Tree?=
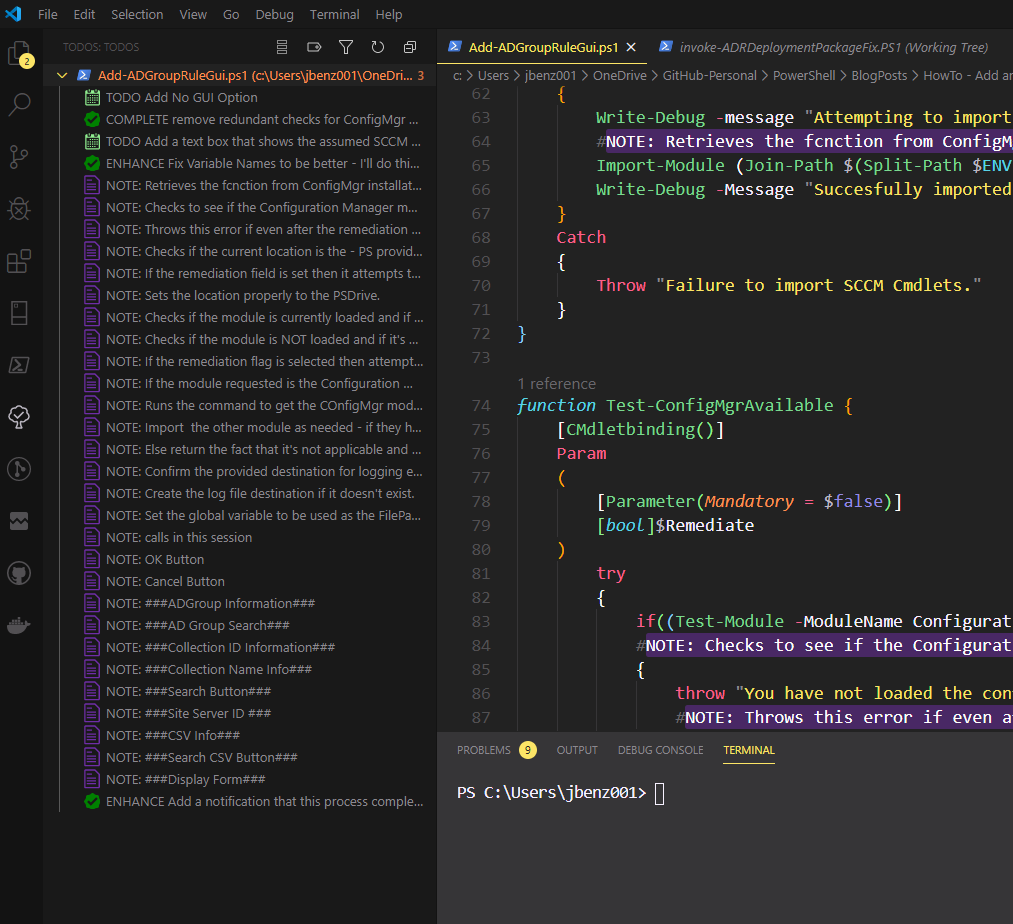
Before we deal with how to install one of my favorite extensions lets review what it does. If you’ve worked with a group of people on a coding project before you know how important good code hygiene is. No one should ever underestimate the power of commenting your code. ToDo tree takes comments to the next level by providing you the ability to highlight and tag your code. When implemented properly it allows you to navigate your code like a professional developer and jump sections easily. In the picture below you can click on any of the “Notes” on the left side to instantly jump to the line.
Install ToDo Tree
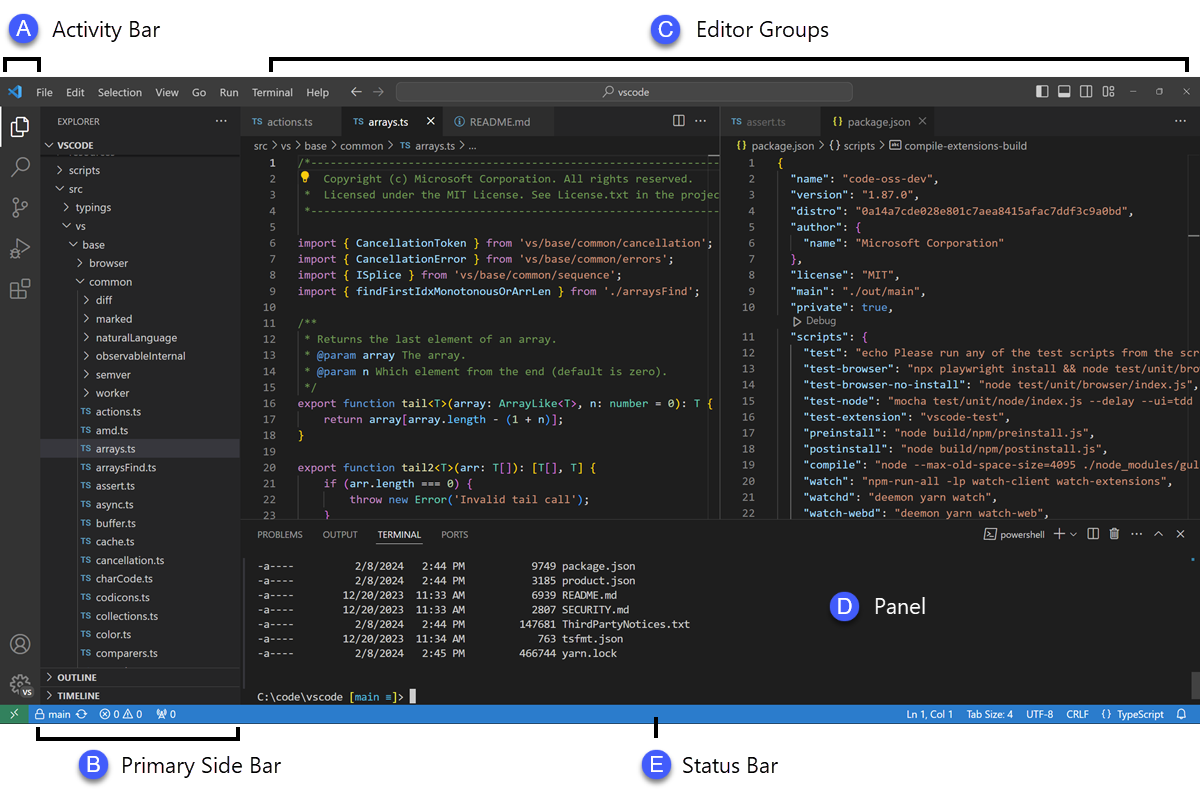
To take our coding to the next level, we need to install ToDo tree. Click the extension’s icon in the activity bar in VSCode. If you’re not familiar, it’s the bar on the left side of VSCode indicated by the “A” Icon., and if you need a refresher on editor terminology the VSCode website has an excellent overview found here:
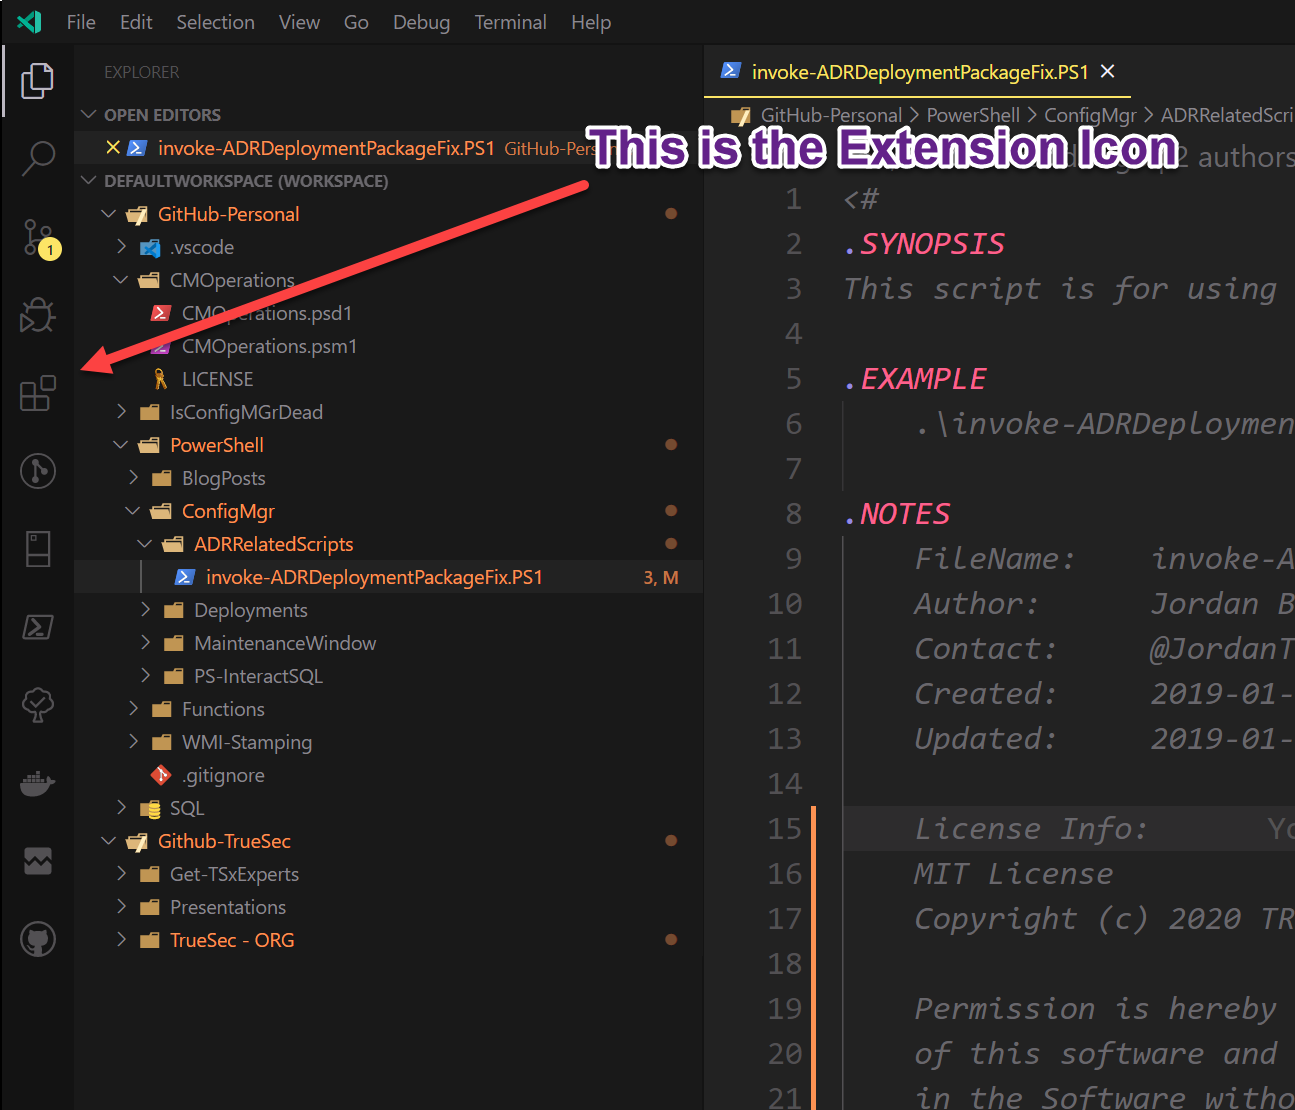
However, note the icons were updated more recently than the documentation; this may cause the images to look different. If you are running an older version, the extension icon is the square box under the bug. However, if you’re using a newer version, the extension icon is the “app” icon.
Select the extension and then using the search for the marketplace find ToDo Tree and click install. I’m going to switch to a virtual machine now Visual Studio Code installed and show you the exact four steps you need to do.
While installing the extension is pretty straightforward, what comes next isn’t quite as intuitive as you would hope, especially if you’ve never configured a VSCode extension before.
Accessing the VSCode Settings Json
If you aren’t familiar with JSON, its time to start learning. After all, the “Settings” user interface is just a visual representation of your personal “settings.json” file and the “defaultSettings.json” file. You can access both of them (but I recommend only making changes to settings.json) from the VSCode command pallet. You access this by pressing “Ctrl+Shift+P” and typing in “settings”.

Once you’ve opened it you can make changes to your settings in real time by updating the various fields or adding new supported ones and saving.
Configuring ToDo Tree
Almost everything in VSCode uses the previously mentioned JSON configuration file. This extension is no different and like one of those toys you buy with “some assembly required.” Fortunately for us, the creator of this extension (Grunt Fugly) has done a pretty good job of documentation, as seen in the link below.
https://marketplace.visualstudio.com/items?itemName=Gruntfuggly.todo-tree
Using the documentation is straight forward if you’ve changed things in the settings JSON before, but if you haven’t, it can be a daunting task. When you write your first highlight, I suggest using the documented example. Editing the file will make your “settings.json” look something like this.
{
 "todo-tree.highlights.defaultHighlight": {
 "icon": "alert",
 "type": "text",
 "foreground": "red",
 "background": "white",
 "opacity": 50,
 "iconColour": "blue"
 },
 "todo-tree.highlights.customHighlight": {
 "TODO": {
 "icon": "check",
 "type": "line"
 },
 "FIXME": {
 "foreground": "black",
 "iconColour": "yellow",
 "gutterIcon": true
 }
 }
}
Unpacking JSON Tags
Before we go further, let’s unpack what exactly is happening here. The first, “DefaultHighLight” – specifies if there is a TAGGED line of text without a highlight definition specified use this format style. Second, we have “Custom Highlight.” The custom highlight allows you for each DEFINED tag to provide a set of instructions on what to do when a tag is seen. When you create a custom highlight, you have quite a few options not covered in the example above, so here’s a complete example for a custom highlight.
 "COMPLETE": {
 "type": "text",
 "icon": "verified",
 "foreground": "white",
 "iconColour": "green",
 "background": "green"
 },
In side this custom highlight we have:
- Type – (It can be either “text” or “line” – Text highlights only the TEXT, line highlights the entire line across the editor.
- Icon – Icon displayed in the action bar ( These are the available ones https://octicons.github.com/ )
- Foreground – The color of the text
- iconColour – The color of the ICON in the action bar
- background – The background color of the text for the tag.
While this is a COMPLETE tag, there is one more thing to be done. We need to actually define our custom tags. “TODO and FIXME are available by default but everything else is not. We can do this by using the control pallet and typing in “Add Tag” or you can directly edit the JSON.
 "todo-tree.general.tags": [
 "TODO",
 "FIXME",
 "COMPLETE",
 "BUG",
 "function"
 ],
Finally, this brings me to my last point the true power of ToDo tree is how once you have these tags configured you can use them to track your place in your code. You can add these tags using JSON as depicted above or by using the command pallet.
Lets wrap up with a video montage
With so many steps it’s easy to get lost along the way. So I put it all together in a video to make sure you’ve got it. Double check you have your audio turned on before you hit the play button.
Stay ahead with cyber insights
Newsletter
Stay ahead in cybersecurity! Sign up for Truesec’s newsletter to receive the latest insights, expert tips, and industry news directly to your inbox. Join our community of professionals and stay informed about emerging threats, best practices, and exclusive updates from Truesec.
Your current browser privacy settings may be preventing this form from loading properly. To continue, please allow cookies/tracking for this site or temporarily disable strict privacy protection, then refresh the page.
If you’re still experiencing issues, please contact us at hello@truesec.com
Latest Insights

FortiNet SSO Vulnerability CVE-2025-59718 and CVE-2025-59719 Leading to Full System Compromise

Critical Vulnerabilities in Ivanti Sentry Allows Code Execution as Root (CVE-2026-10520 & CVE-2026-10523)